Planning a window replacement project can feel overwhelming, especially when you’re unsure what the installation process involves. At Utah Window Experts, we believe informed homeowners make better decisions and have more positive experiences. Understanding exactly what happens during window installation helps you prepare properly and ensures your project runs smoothly from start to finish.
Over our years of serving Utah homeowners, we’ve refined our installation process to minimize disruption while maximizing quality. Here’s your complete guide to what you can expect during your Utah window replacement project.
Pre-Installation Planning and Preparation
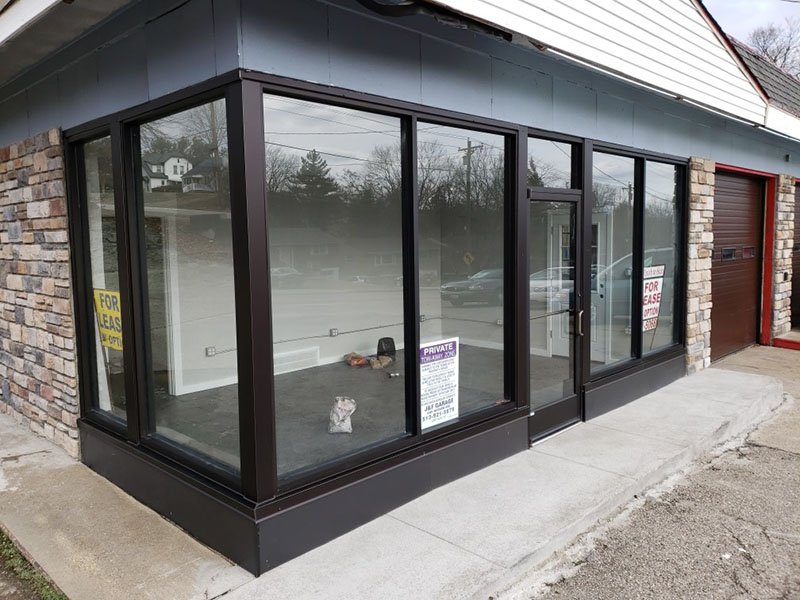
Successful window installation begins weeks before our crew arrives at your home. Proper planning ensures your project stays on schedule and meets your expectations.
Initial Consultation and Measurement
Your window replacement journey starts with a comprehensive home assessment where we evaluate your existing windows, discuss your needs, and take precise measurements.
What We Assess:
- Current window condition and performance
- Frame material and construction type
- Home architectural style and preferences
- Energy efficiency goals and budget
- Timeline requirements and constraints
Custom Window Manufacturing
After finalizing your window selection, manufacturing typically takes 3-6 weeks depending on the complexity and customization level of your windows.
Manufacturing Timeline:
- Standard vinyl windows: 3-4 weeks
- Custom-sized windows: 4-5 weeks
- Specialty materials or colors: 5-6 weeks
- Complex architectural shapes: 6-8 weeks
Pre-Installation Preparation
About one week before installation, we’ll contact you to confirm details and provide preparation instructions.
Homeowner Preparation Tasks:
- Clear furniture and decorations near windows
- Remove window treatments and hardware
- Provide clear access to work areas
- Secure pets and valuable items
- Plan for noise and activity disruption
Day One: Project Setup and Initial Removal
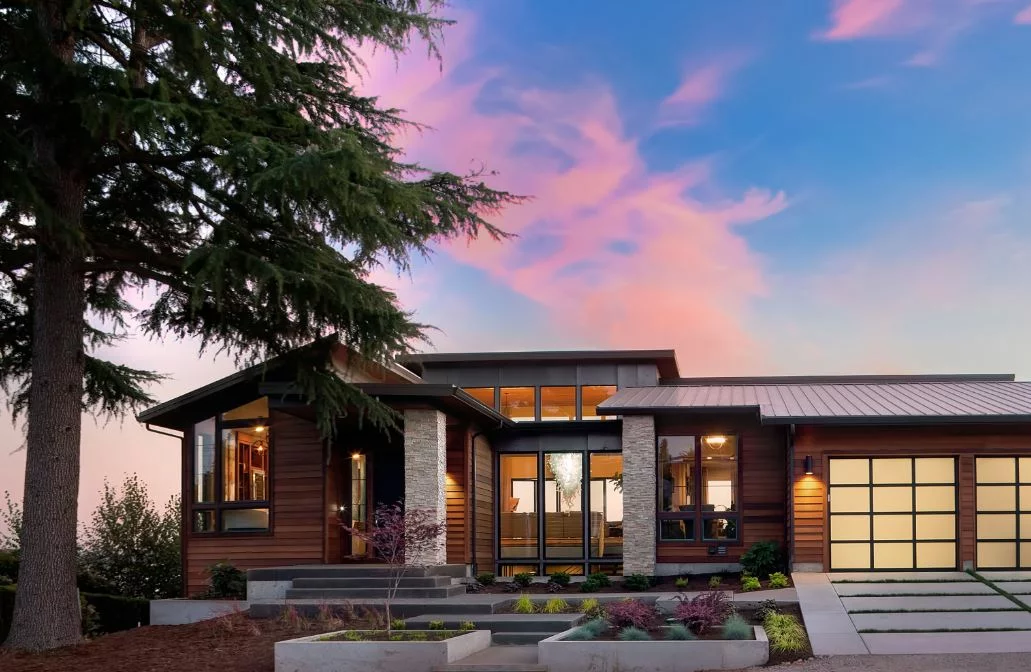
Installation day begins early with our crew arriving to set up equipment and begin the careful removal of your existing windows.
Morning Setup (7:00-8:00 AM)
Our installation team arrives promptly to begin setup and review the project scope with you.
Setup Activities:
- Unload tools and materials
- Set up protective covering for floors and furniture
- Review installation plan and any special considerations
- Conduct final measurements and quality checks
Existing Window Removal (8:00 AM-12:00 PM)
Window removal requires careful technique to avoid damage to surrounding walls, trim, and interior finishes.
Removal Process:
- Window sash removal: Operating sashes removed first
- Hardware disconnection: All mechanical components detached
- Frame cutting: Existing frame cut for safe removal
- Cleanup: Debris removed and disposed of properly
First Window Installation Begins
Once removal is complete, installation of your first new window begins, establishing the process for the remainder of the project.
Initial Installation Steps:
- Frame preparation and inspection
- Flashing and weatherproofing installation
- New window positioning and leveling
- Initial fastening and adjustment
Installation Day Process: Step-by-Step
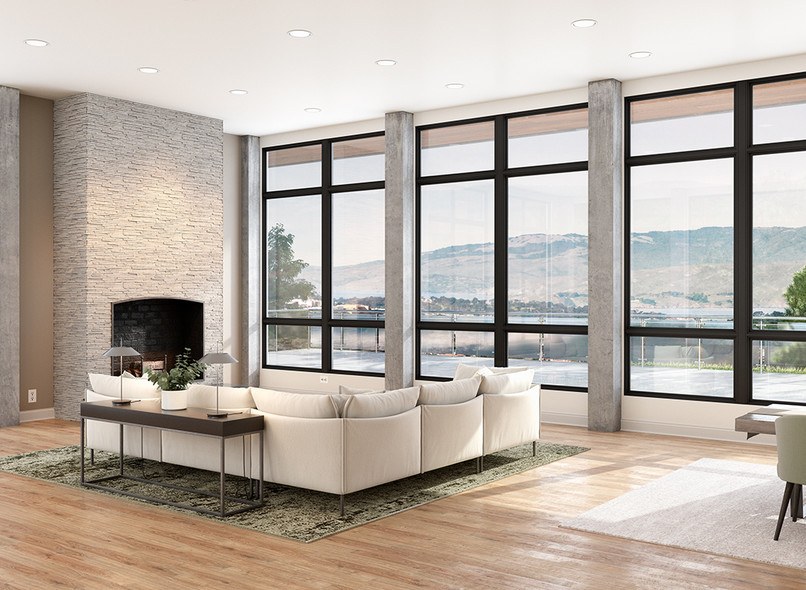
Each window follows a precise installation sequence designed to ensure optimal performance and longevity in Utah’s challenging climate.
Step 1: Opening Preparation
Before installing new windows, each opening must be properly prepared to ensure a perfect fit and optimal performance.
Preparation Activities:
- Opening measurement verification
- Sill and header inspection
- Structural integrity assessment
- Surface preparation and cleaning
Step 2: Flashing and Weather Barrier Installation
Utah’s severe weather requires comprehensive moisture protection that goes beyond basic installation requirements.
Weather Protection Measures:
- Sill pan flashing installation
- Side jamb weather barriers
- Header flashing integration
- Drainage plane establishment
Step 3: Window Positioning and Leveling
Precise positioning ensures proper operation and prevents future problems with window function.
Positioning Process:
- Window placement in opening
- Level and plumb verification
- Proper spacing establishment
- Temporary securing methods
Step 4: Structural Fastening
Windows must be securely attached to withstand Utah’s wind loads and seismic requirements.
Fastening Requirements:
- Frame-to-structure attachment
- Fastener spacing per code requirements
- Load transfer verification
- Structural integrity confirmation
Step 5: Insulation and Air Sealing
Energy efficiency depends on proper insulation and air sealing around the entire window perimeter.
Sealing Process:
- Cavity insulation installation
- Air barrier continuity
- Thermal bridge elimination
- Vapor barrier integration
Step 6: Exterior Finishing
Weather-resistant exterior finishing protects your investment and maintains your home’s appearance.
Exterior Work:
- Trim installation or restoration
- Caulking and sealant application
- Paint touch-up if required
- Final weather seal verification
Interior Finishing and Cleanup
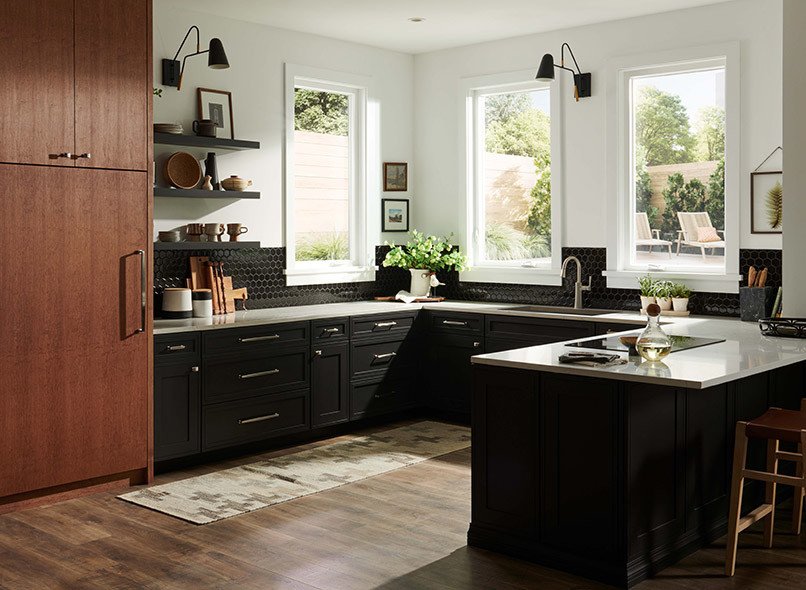
Once windows are structurally complete, interior finishing work ensures your windows look and function perfectly.
Interior Trim Work
Depending on your window selection and home style, interior finishing may involve various levels of trim work.
Trim Options:
- Full frame replacement: Complete trim replacement
- Retrofit installation: Existing trim preservation
- Custom trim: Upgraded interior finishing
- Minimal disruption: Touch-up only approach
Caulking and Paint Touch-Up
Professional finishing includes careful attention to details that make your windows look like they’ve always been part of your home.
Finishing Details:
- Interior caulk lines
- Paint matching and touch-up
- Hardware adjustment and lubrication
- Window operation verification
Final Cleanup Process
Our installation teams take pride in leaving your home cleaner than they found it.
Cleanup Activities:
- Debris removal and disposal
- Protective covering removal
- Window cleaning inside and out
- Final site inspection
Multi-Day Installation Timeline
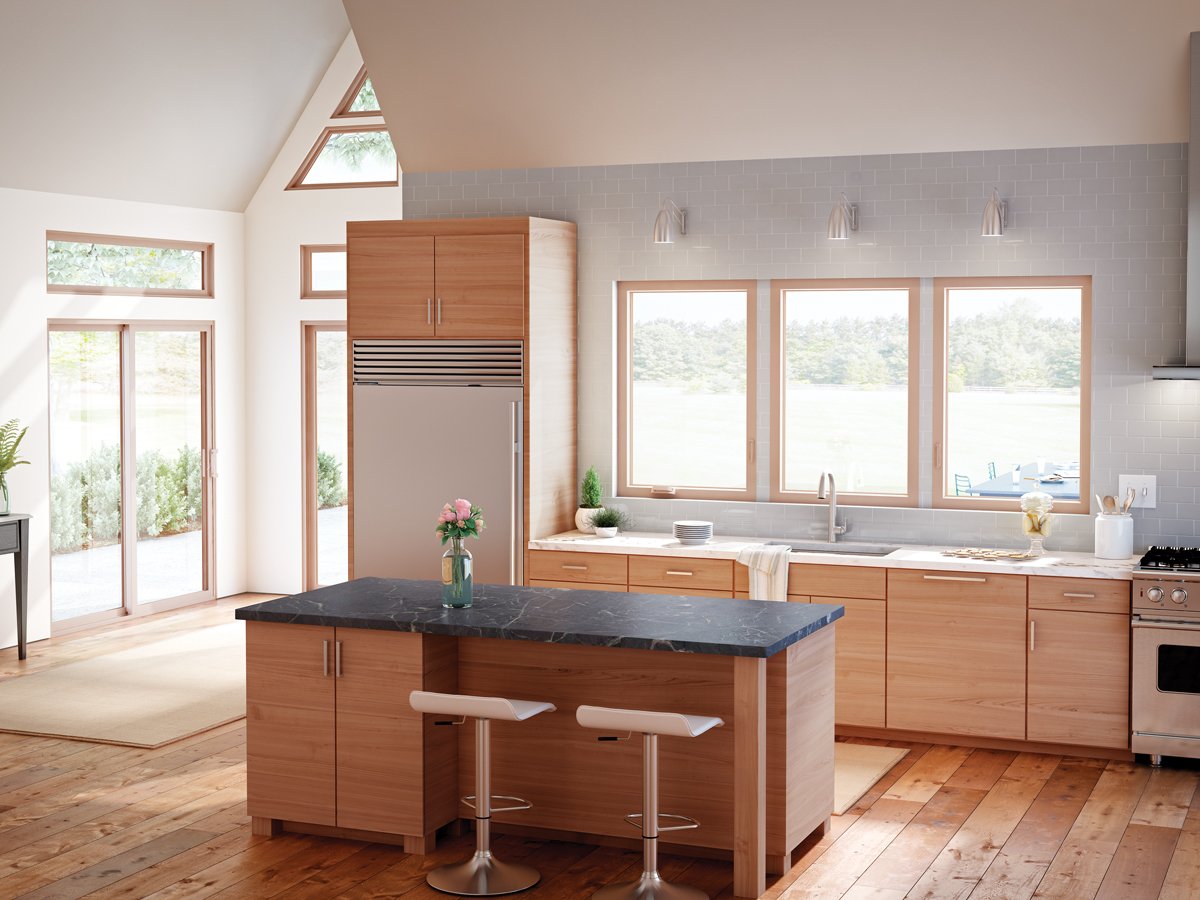
Larger projects require multiple days to complete while maintaining quality standards and minimizing disruption to your daily routine.
Typical Timeline by Project Size
Single window replacement: 2-4 hours 3-5 windows: 1 full day 6-10 windows: 1-2 days 11-15 windows: 2-3 days Whole house (20+ windows): 3-5 days
Daily Schedule Management
We coordinate our work schedule to minimize inconvenience while maintaining productivity.
Schedule Considerations:
- Weather window optimization
- Noise restriction compliance
- Access and parking coordination
- Homeowner schedule accommodation
Weather Contingency Planning
Utah’s unpredictable weather requires flexible scheduling and protection measures.
Weather Protocols:
- Daily weather monitoring
- Temporary weather protection
- Schedule adjustment procedures
- Emergency closure protocols
Quality Control and Inspection

Every window installation includes comprehensive quality control measures to ensure performance meets our standards and your expectations.
Installation Quality Checklist
Each window undergoes a detailed inspection before our team considers it complete.
Quality Control Points:
- Proper operation verification
- Air and water seal testing
- Level and plumb confirmation
- Hardware adjustment and function
- Weather resistance verification
Utah Code Compliance
All installations must meet or exceed Utah building codes and energy efficiency requirements.
Code Requirements:
- Structural attachment verification
- Energy code compliance
- Safety glazing requirements
- Accessibility standards where applicable
Final Walkthrough
Before project completion, we conduct a thorough walkthrough with you to ensure everything meets your expectations.
Walkthrough Process:
- Window operation demonstration
- Care and maintenance instruction
- Warranty documentation review
- Any final adjustments needed
Post-Installation Follow-Up

Our commitment to your satisfaction extends beyond installation completion with comprehensive follow-up and support.
Immediate Post-Installation (First Week)
We monitor new installations closely during the first week to address any adjustment needs.
First Week Monitoring:
- Settlement adjustment check
- Operation verification
- Seal performance confirmation
- Homeowner satisfaction verification
30-Day Follow-Up
Thirty days after completion, we contact you to ensure continued satisfaction and address any concerns.
30-Day Checklist:
- Performance verification
- Operation smoothness check
- Energy efficiency assessment
- Customer satisfaction survey
Annual Maintenance Reminders
We provide ongoing support through maintenance reminders and service availability.
Ongoing Support:
- Annual maintenance recommendations
- Warranty service coordination
- Performance optimization tips
- Upgrade opportunity notifications
Special Considerations for Utah Installations

Utah’s unique climate and building conditions require special attention during window installation.
High Altitude Considerations
Elevation affects both material performance and installation techniques.
Altitude Factors:
- UV protection requirements
- Thermal expansion accommodation
- Pressure differential management
- Sealant performance optimization
Seismic Zone Requirements
Parts of Utah fall within seismic zones requiring enhanced attachment methods.
Seismic Considerations:
- Flexible connection details
- Enhanced fastening schedules
- Movement accommodation
- Structural integration requirements
Seasonal Installation Factors
Utah’s extreme seasons create specific installation challenges and opportunities.
Winter Installations:
- Temperature limitations for sealants
- Heating and protection requirements
- Extended cure times
- Weather protection protocols
Summer Installations:
- Heat stress on materials
- Thermal expansion management
- Worker safety considerations
- Accelerated cure times
Preparing Your Home for Installation
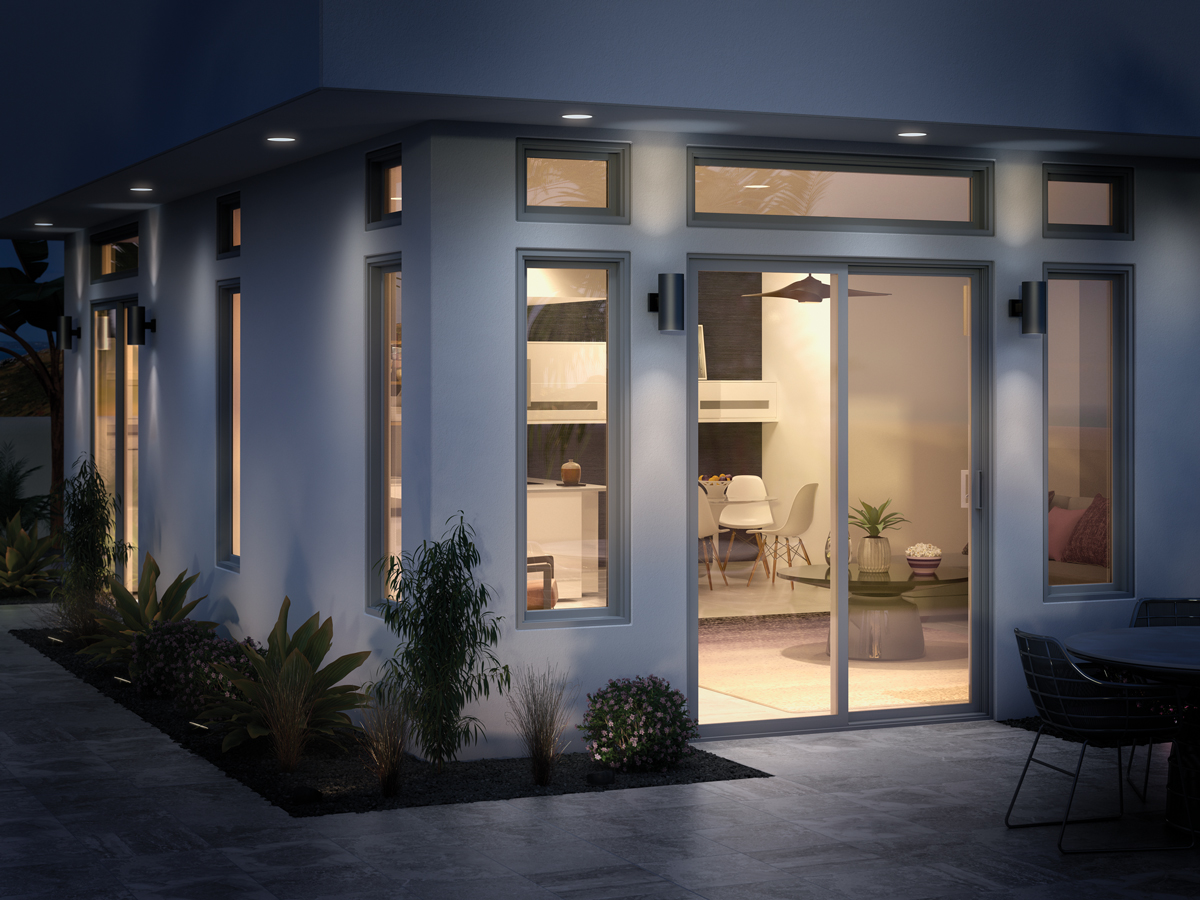
Proper preparation helps ensure your installation proceeds smoothly and efficiently.
Interior Preparation
Preparing room interiors protects your belongings and provides our crews with efficient working conditions.
Interior Preparation Tasks:
- Remove or cover furniture near windows
- Take down window treatments and decorations
- Clear windowsills and nearby surfaces
- Protect valuable or fragile items
Exterior Preparation
Exterior access and preparation help installation crews work safely and efficiently.
Exterior Preparation:
- Clear landscaping near windows
- Ensure clear access paths
- Remove exterior shutters or decorations
- Coordinate utility location marking if needed
Family and Pet Considerations
Installation creates noise, activity, and temporary security concerns requiring planning.
Family Preparation:
- Plan activities away from work areas
- Secure pets during working hours
- Prepare for noise and disruption
- Arrange temporary privacy solutions
Getting Started with Your Installation
Ready to begin your Utah window replacement project? Our free evaluation service includes detailed timeline planning and preparation guidance. Use our project builder tool to explore options and scheduling, or download our comprehensive installation guide for additional details.
Understanding the installation process helps you prepare properly and ensures your window replacement project exceeds your expectations. With proper planning and professional installation, your new windows will provide decades of improved comfort, energy savings, and enhanced home value.
Utah Window Experts has perfected our installation process through thousands of Utah projects. Our experienced crews, quality control measures, and commitment to customer satisfaction ensure your window installation experience is positive from start to finish. Contact us today to schedule your consultation and begin planning your window replacement project.