Window replacement is a significant investment in your home's comfort, energy efficiency, and aesthetics. Yet many homeowners make preventable mistakes that compromise their results, waste money, or create problems down the road. Understanding these common pitfalls before you start your project helps you avoid costly errors and ensures you get the maximum value from your window investment.
Mistake #1: Not Getting Multiple Quotes
One of the biggest mistakes homeowners make is accepting the first quote they receive without comparison shopping.
Why this matters:
- Window replacement quotes can vary by 30-50% between companies
- Price differences often reflect installer quality, warranty coverage, and materials used
- A cheap quote may indicate rushed installation or lower-quality windows
- An expensive quote doesn't guarantee better quality
What to do instead:
- Get quotes from at least 3 reputable window companies
- Ensure quotes include the same window specifications for fair comparison
- Compare not just price, but warranty coverage, installation timeline, and warranty
- Check company reviews and references before deciding
- Ask what's included in the quote (removal, disposal, caulking, trim)
- Verify that contractors are licensed and insured
Cost impact: Getting multiple quotes typically saves $1,000-5,000 on a full-home window replacement project.
Mistake #2: Choosing Windows Based on Price Alone
While budget matters, selecting windows primarily on price often leads to disappointing long-term results.
Why this matters:
- Cheap windows may have poor energy efficiency, causing higher utility bills
- Lower-quality frames warp, crack, or fail sooner
- Inferior seals lead to condensation and water infiltration
- Cheap windows may void installation warranties
- Replacement costs far exceed the initial savings
What to do instead:
- Balance cost with quality and energy efficiency ratings
- Consider total cost of ownership over 20-30 years, not just initial price
- Invest in Energy Star certified windows for better performance
- Choose reputable manufacturers with strong warranty coverage
- Understand that mid-range windows offer the best value for most homeowners
- Factor in potential energy savings (typically 15-30% reduction in heating/cooling costs)
Cost impact: Upgrading from budget to mid-range windows adds $100-300 per window but saves $20-60 annually in energy costs.
Mistake #3: Ignoring Energy Efficiency Ratings
Many homeowners overlook energy performance specifications, assuming all windows are basically the same.
Why this matters:
- Energy efficiency directly impacts your monthly utility bills
- Poor-quality windows can cost $300-800 annually in wasted heating/cooling energy
- Energy Star certification provides third-party validation of performance
- Climate zone affects which efficiency ratings matter most
- Low-E coatings and insulation quality vary significantly between products
What to do instead:
- Check U-factor ratings (lower is better; 0.30-0.35 is excellent)
- Review Solar Heat Gain Coefficient (SHGC) ratings appropriate for your climate
- Verify Energy Star certification for your specific region
- Ask about Low-E coating options and their performance difference
- Consider triple-pane windows in cold climates despite higher upfront cost
- Calculate long-term energy savings to justify premium windows
Cost impact: Energy-efficient windows save $300-600 annually, paying for the upgrade in 5-15 years through reduced energy costs.
Mistake #4: Not Measuring Windows Correctly
Incorrect measurements lead to installation problems, poor fit, and compromised performance.
Why this matters:
- Improperly sized windows don't seal correctly
- Poor sealing leads to air leaks, water infiltration, and drafts
- Custom-sized windows cost significantly more than standard sizes
- Measurement errors can't always be corrected during installation
- Install tolerances are typically only 1/4 inch
What to do instead:
- Measure the interior width and height at multiple points (top, middle, bottom)
- Account for window trim and frame thickness
- Take measurements multiple times to verify accuracy
- Use a professional installer's measurement service (often free with quote)
- Have the installer measure before ordering for full-frame replacements
- Note any out-of-square conditions in the window opening
Cost impact: Professional measurement prevents costly remeasurements and ensures proper seal performance.
Mistake #5: Attempting DIY Installation on Complex Projects
While some homeowners successfully install simple window projects, many underestimate the difficulty.
Why this matters:
- Poor installation allows water infiltration and air leaks
- Improper installation voids manufacturer warranties
- Structural damage from incorrect removal adds unforeseen costs
- Flashing and caulking done incorrectly cause long-term problems
- Building code compliance requires proper installation techniques
- Restoration of damaged trim and drywall is expensive
What to do instead:
- Hire professional installers for anything beyond simple replacement windows
- If attempting DIY, limit it to single, standard replacement windows only
- Ensure you understand proper flashing, sealing, and caulking techniques
- Check local building codes before starting any installation
- Invest in professional installation on structural or custom windows
- Use licensed installers to maintain warranty coverage
Cost impact: Professional installation costs $100-300 per window but prevents water damage repairs of $2,000-10,000+.
Mistake #6: Ignoring Flashing and Weatherproofing
The difference between a good window installation and a problematic one often comes down to flashing and sealing.
Why this matters:
- Improper flashing allows water to enter the wall, causing rot and mold
- Poor caulking seals create air leaks and drafts
- Water damage repair costs $2,000-10,000+ compared to proper installation
- Building codes require proper flashing installation
- Weatherproofing failures aren't always immediately visible
What to do instead:
- Verify the installer uses proper flashing materials (typically aluminum or vinyl)
- Ensure flashing overlaps roof or siding appropriately (minimum 2-3 inches)
- Confirm installers caulk all exterior gaps with paintable silicone caulk
- Ask about weatherproofing guarantees in the installation warranty
- Inspect flashing before painting or final caulking
- Verify proper membrane installation on sloped windows or skylights
Cost impact: Proper flashing installation prevents $2,000-10,000+ in future water damage repair costs.
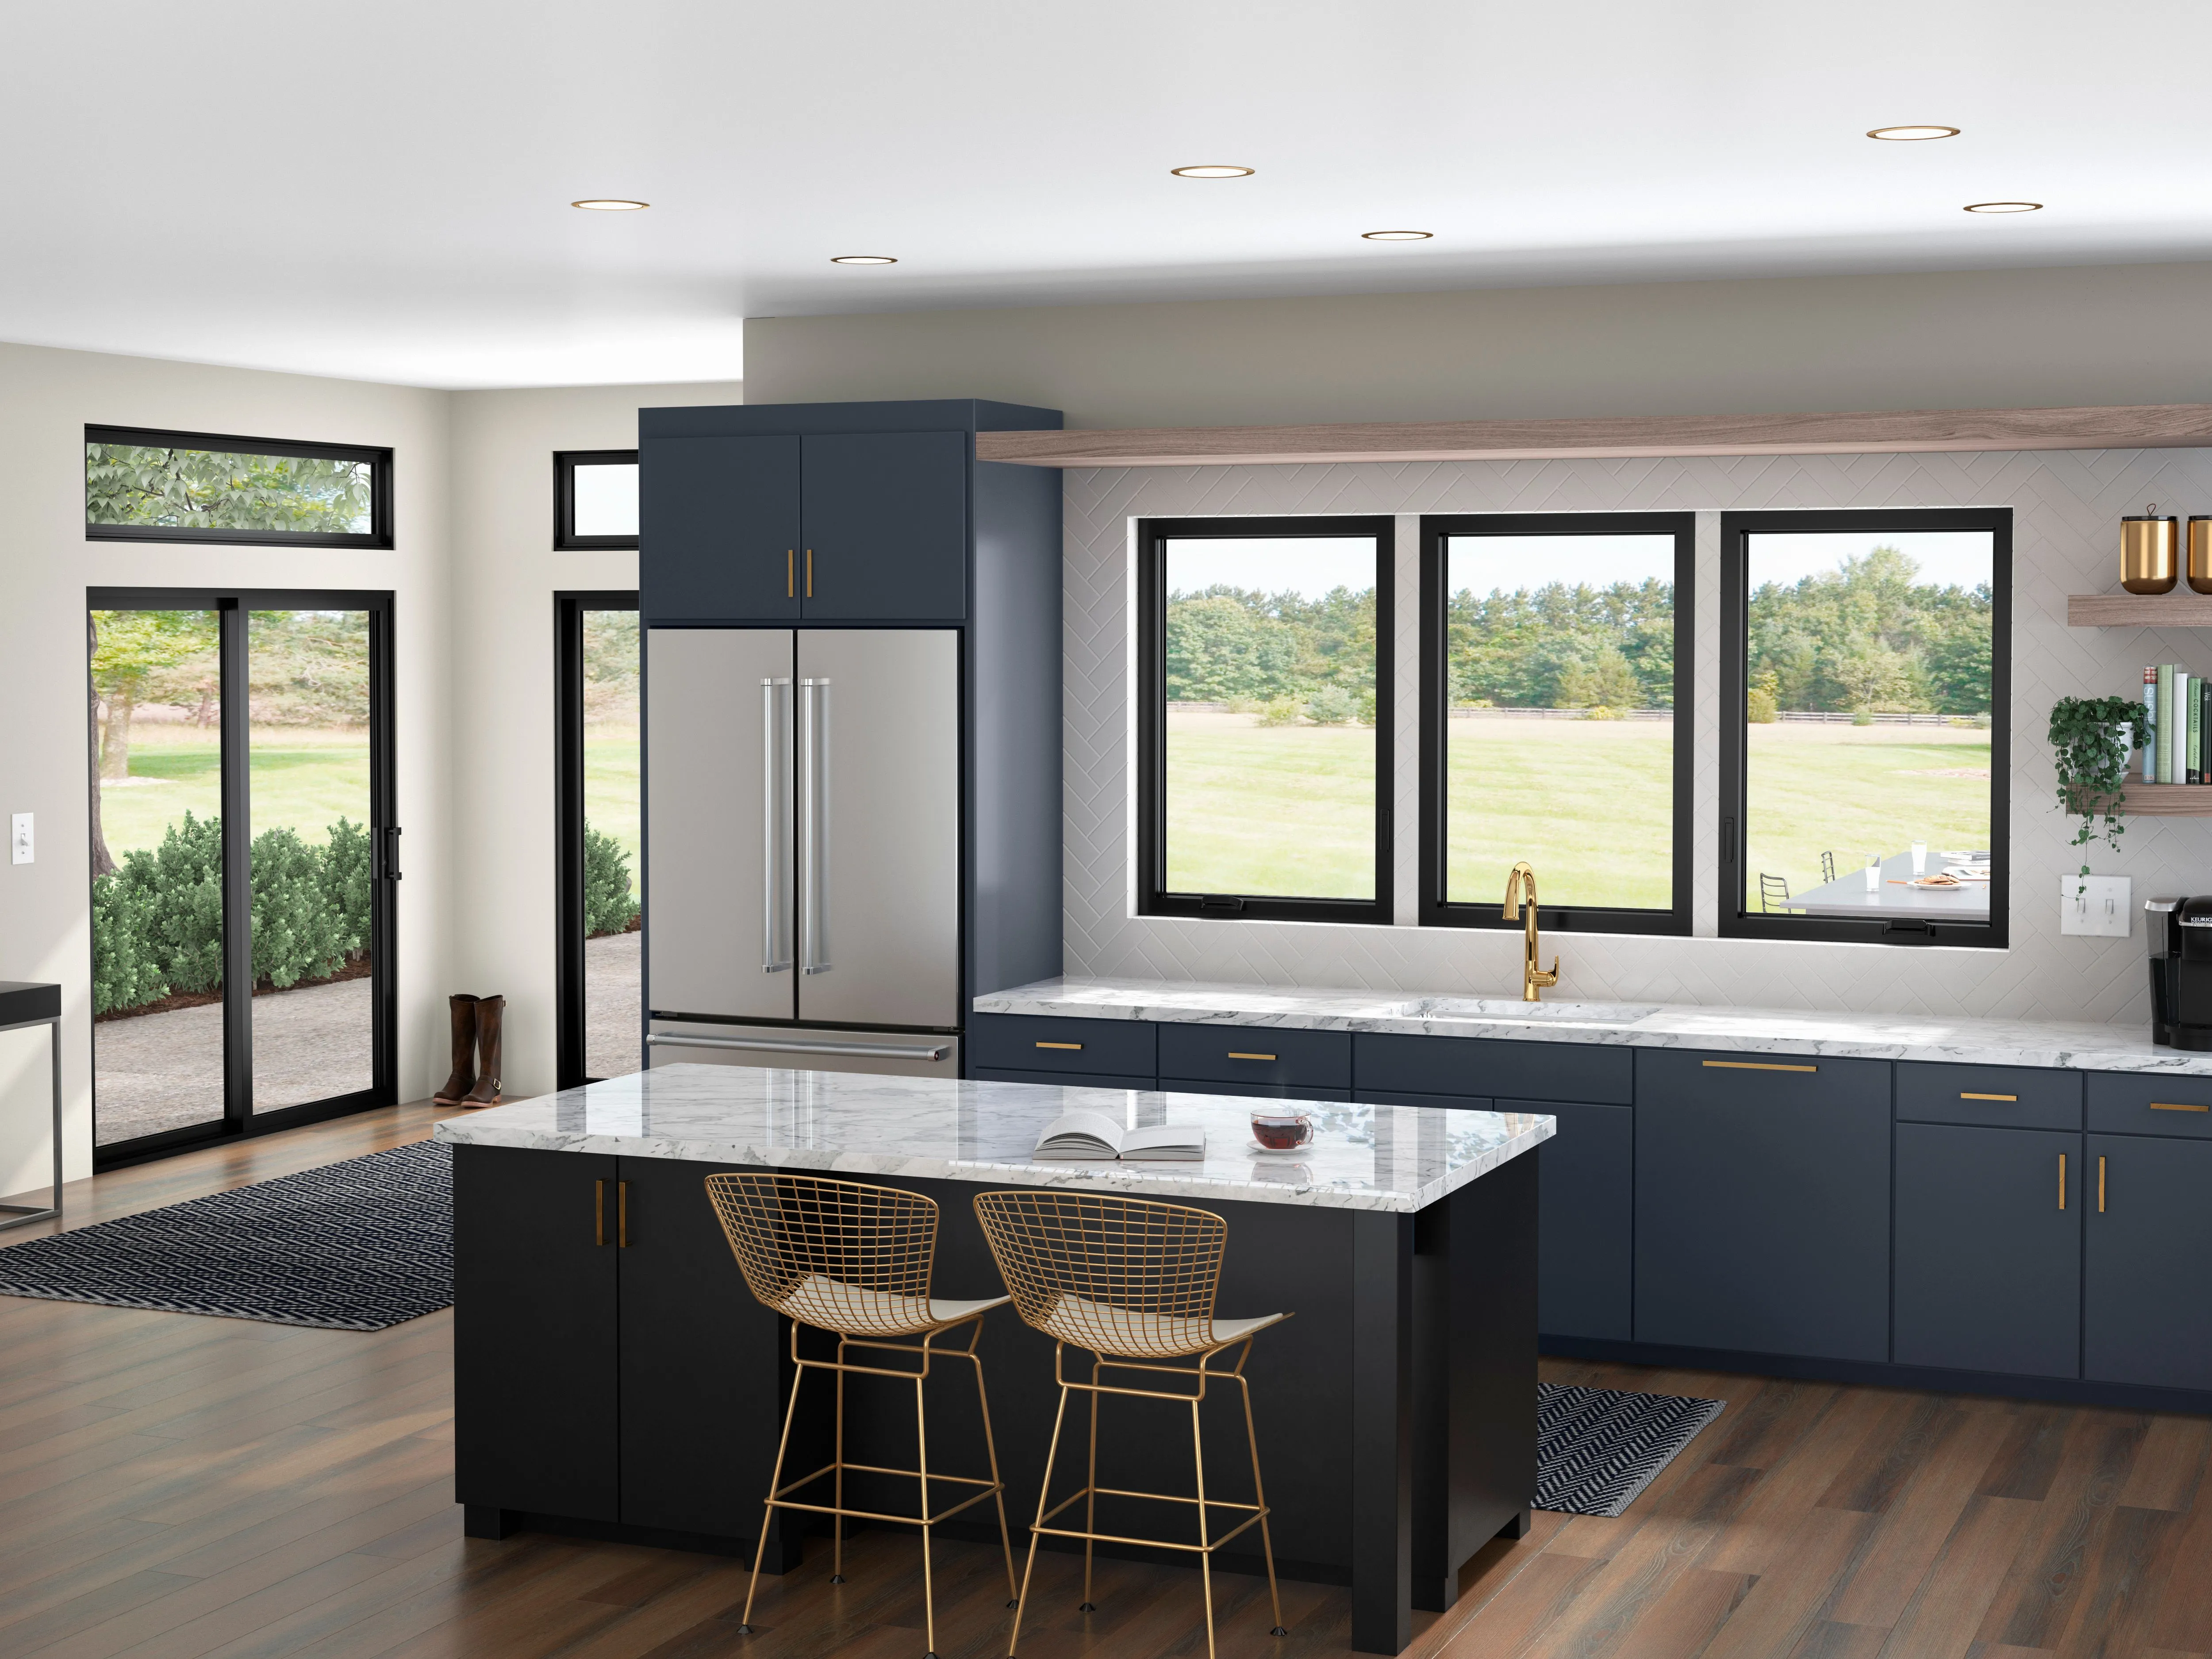
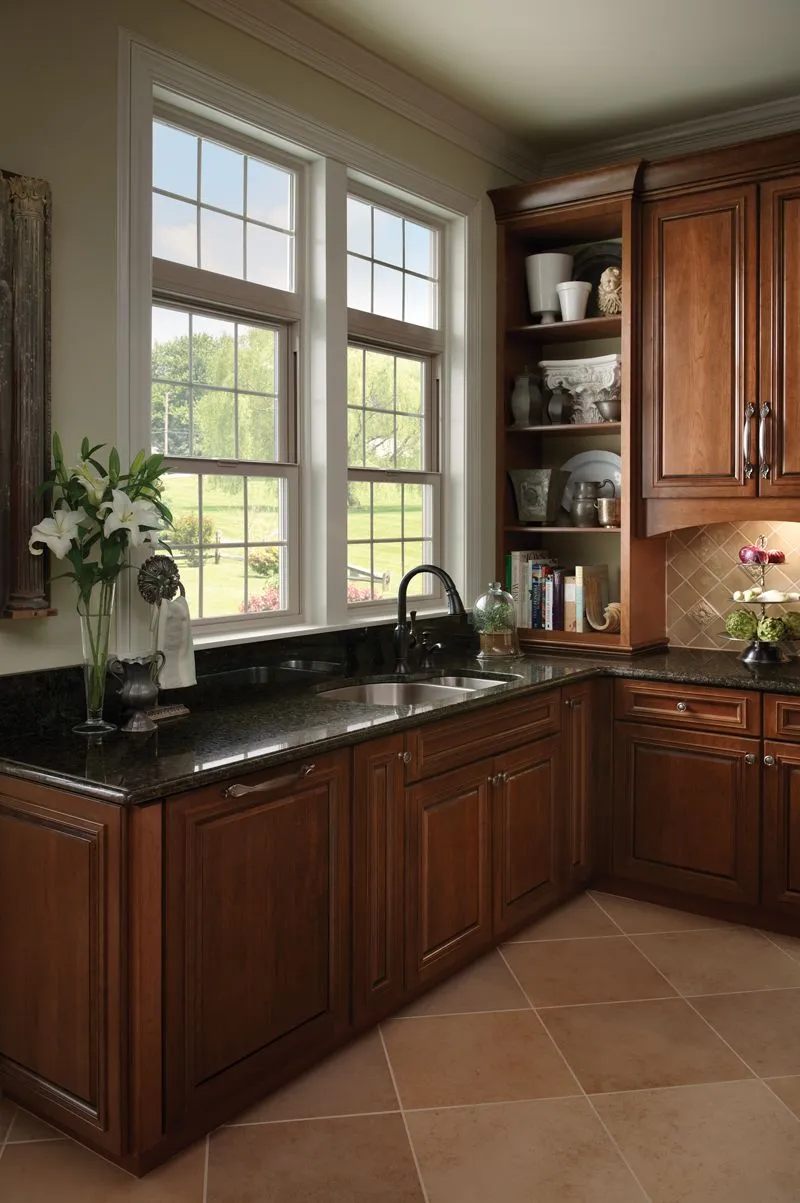
Mistake #7: Choosing Windows That Don't Match Your Home's Style
Selecting windows that clash with your home's architectural style negatively impacts curb appeal and value.
Why this matters:
- Wrong window style looks incongruous and reduces home value
- Mismatched windows distract from home's aesthetic appeal
- Resale value is negatively impacted by poor window choices
- Replacing windows again costs significantly more
- Architectural authenticity matters for certain home styles
What to do instead:
- Research window styles that match your home's architecture
- Consider your home's age, style (Colonial, Modern, Craftsman, etc.)
- Photograph your home's exterior and bring to designer consultation
- View actual window options installed on similar homes
- Consider trim color and grille patterns that complement your style
- Verify that muntins/grilles match (if replacing some windows only)
Cost impact: Choosing appropriate styles ensures your investment enhances rather than detracts from your home's value.
Mistake #8: Not Planning for Seasonal Installation
Timing your window replacement is important for successful installation and proper curing of sealants.
Why this matters:
- Caulk and sealants need specific temperature ranges to cure properly
- Extreme temperatures (below 50°F or above 85°F) compromise sealing
- Winter installations in cold climates can delay cure and compromise seals
- Summer heat affects caulk and trim material performance
- Extended drying times reduce occupancy comfort during installation
What to do instead:
- Plan installation during moderate weather (spring or fall typically best)
- Avoid winter installations in cold climates if possible
- Verify that installers can work within proper temperature ranges
- Allow adequate time for caulk to cure before exposing to weather
- Confirm that warranty isn't voided by off-season installation
- Schedule around weather forecasts to avoid rain during installation
Cost impact: Proper seasonal timing prevents seal failures requiring costly future repairs.
Mistake #9: Not Budgeting for Hidden Costs
Window replacement projects often encounter unexpected expenses that weren't in the initial quote.
Why this matters:
- Structural damage discovered during removal can add $500-2,000
- Rotted trim or water damage requires repair or replacement
- Asbestos abatement (older homes) costs $1,000-3,000+
- Interior/exterior restoration after window removal adds cost
- Upgraded trim, caulking, or painting increases the total bill
- Unexpected electrical or plumbing conflicts require relocation
What to do instead:
- Request a detailed written estimate itemizing all costs
- Ask what happens if damage is discovered during removal
- Budget an additional 10-15% contingency for unexpected issues
- Verify that removal and disposal of old windows is included
- Confirm whether trim repair, painting, or restoration is included
- Have an inspection done before starting to identify potential issues
- Get written authorization for any changes before work begins
Cost impact: Budget awareness prevents project overruns of 20-30% and ensures better financial planning.
Mistake #10: Skipping the Final Inspection
Homeowners often fail to properly inspect the finished work before paying the contractor.
Why this matters:
- Installation defects become expensive to fix after contractors leave
- Caulking, flashing, and alignment issues are easier to address during installation
- Final inspection holds contractors accountable for quality
- Missing punch-list items may not get addressed if inspection is skipped
- Window operation and seal should be verified before final payment
- Documentation of completion protects your warranty rights
What to do instead:
- Schedule a thorough final inspection before paying final invoice
- Check operation of all windows (smooth opening/closing, proper locking)
- Verify proper caulking and weatherproofing on all windows
- Inspect flashing and exterior sealing
- Look for proper trim finish and paint coverage
- Document any defects with photos and written notes
- Require contractor to address all issues before final payment
- Keep all warranties, contracts, and photos for your records
Cost impact: Final inspection identifies issues while contractors are accountable, preventing costly future repairs.
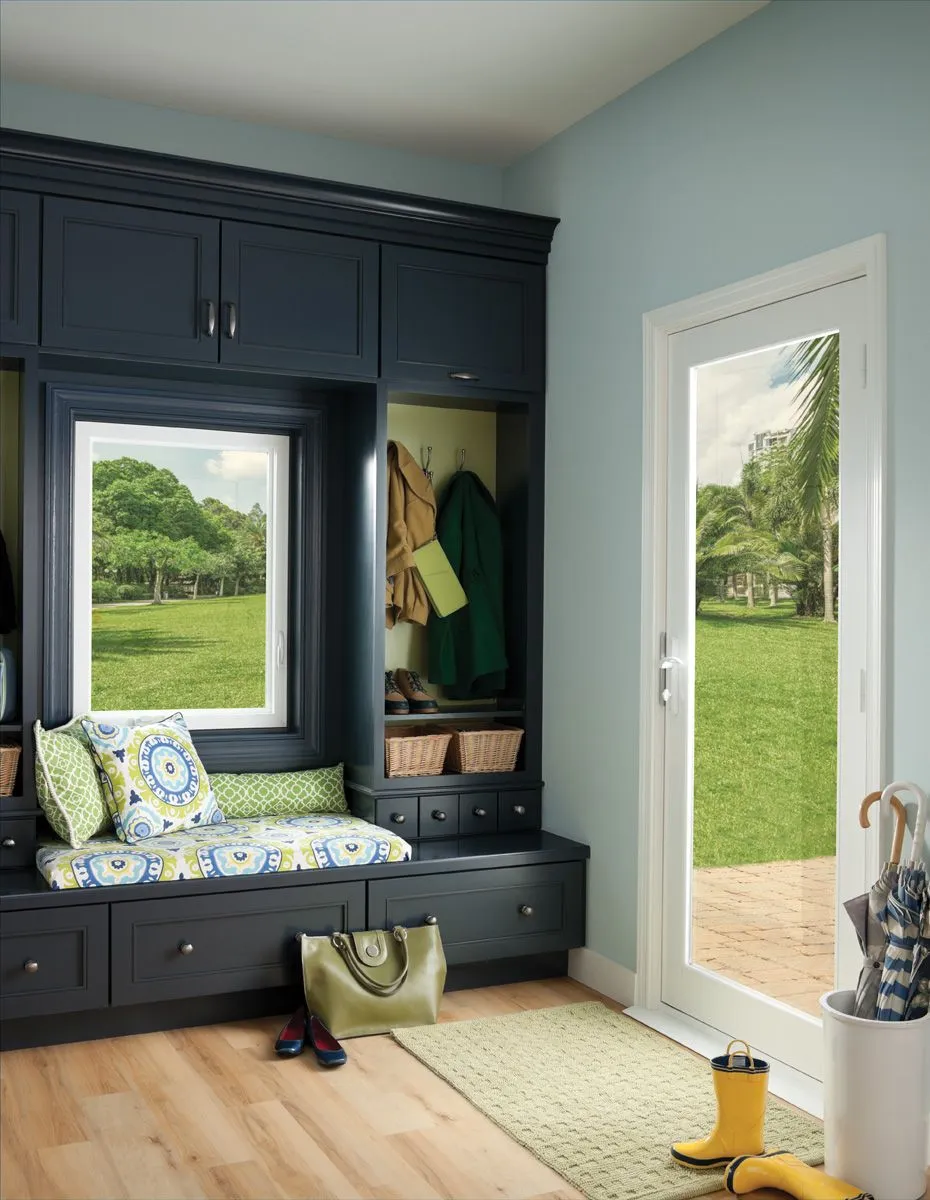
Mistake #11: Overlooking Window Style Variations
Similar-sounding windows can have significant performance and aesthetic differences.
Why this matters:
- Single-hung vs. double-hung windows have different ventilation capabilities
- Casement windows offer different operation and maintenance than sliders
- Bay windows vs. picture windows serve different purposes
- Grille patterns vary and affect home's appearance
- Frame color options impact the final look
- Custom sizes cost significantly more than standard sizes
What to do instead:
- Research specific window types before deciding
- Compare operating mechanisms and their suitability for your needs
- View multiple style options in actual installations
- Consider maintenance requirements of different styles
- Verify grille patterns (if desired) match your home's architecture
- Choose from standard sizes when possible to reduce costs
- Ensure all windows in your home have consistent styling
Cost impact: Understanding variations helps ensure satisfaction and prevents selecting windows that don't meet your needs.
Mistake #12: Not Maintaining Windows After Replacement
Many homeowners assume new windows require no care, but proper maintenance extends their lifespan.
Why this matters:
- Neglected windows develop problems sooner than maintained windows
- Regular cleaning prevents deterioration of seals and frames
- Caulk failures allow water infiltration if not addressed
- Weatherstripping compresses over time and benefits from inspection
- Hardware maintenance ensures smooth operation
- Early problem detection prevents costly repairs
What to do instead:
- Clean windows quarterly with mild soap and water
- Inspect caulking and weatherstripping annually
- Lubricate hardware and locks annually with silicone spray
- Check for drafts and water infiltration signs
- Address small issues promptly (recaulking, weatherstripping)
- Avoid harsh cleaners that damage frames
- Keep a maintenance log and photos of your windows
Cost impact: Regular maintenance prevents premature window replacement and keeps windows operating optimally for 25-30 years.
Regional Considerations for Window Selection
Different Utah climates require different window specifications.
Cold Climate Areas (Park City, Alta, Logan)
- Triple-pane windows provide better insulation
- Lower U-factor ratings (0.25 or below) recommended
- Solar heat gain becomes beneficial in winter
- Proper weatherstripping is critical
Hot/Dry Climate Areas (St. George, Southern Utah)
- SHGC rating becomes more important for heat rejection
- Reflective coatings help manage solar gain
- Durability against UV damage matters more
- Proper ventilation is essential
Mixed Climate Areas (Salt Lake City, Provo, Orem)
- Mid-range efficiency windows balance heating and cooling needs
- Moderate U-factor and SHGC ratings work well
- Seasonal shading/ventilation strategies help optimize performance
FAQ
Q: Is it worth paying more for professional installation?
A: Yes. Professional installation costs $100-300 per window but prevents water damage and warranty issues that cost $2,000-10,000+. The contractor warranty on installation is worth the extra expense.
Q: Should I replace all windows at once or in stages?
A: Replacing all windows simultaneously is usually more cost-effective (contractor setup fees are spread across more windows) and ensures consistent styling. However, staging over several years is acceptable if budget is limited.
Q: Can I reuse my existing window trim?
A: Sometimes, but if trim is damaged, rotted, or doesn't match new windows, replacement is better. Budget for new trim if the old trim is in poor condition.
Q: What should I do if I notice water leaking after installation?
A: Contact the installer immediately while they're still under warranty. Water leaks typically indicate improper installation or flashing issues that they're obligated to fix.
Q: How do I know if my installer is qualified?
A: Verify they're licensed and insured, check references and reviews, ask about their manufacturer certifications, and ensure they guarantee their workmanship in writing.
Q: What's the best time of year for window replacement?
A: Spring and fall provide ideal temperatures for proper sealant curing. Avoid winter in cold climates and extreme summer heat, when caulks and sealants won't cure properly.
Q: Should I remove all windows at once or a few at a time?
A: Complete removal across the entire home (if scheduling allows) is typical for contractor efficiency. Removing a few at a time may cost more in labor but allows maintaining home security.
Q: What warranty coverage should I expect?
A: Expect a manufacturer warranty (15-30 years typical) on the window itself and a contractor warranty (1-5 years typical) on installation. Ensure both are in writing.
Q: Can I paint my new vinyl windows?
A: No. Vinyl windows are not meant to be painted, as paint prevents proper expansion/contraction. If color matching is needed, choose vinyl windows in your desired color.
Q: How much can I save with energy-efficient windows?
A: Expect 15-30% reduction in heating and cooling costs, saving $300-800 annually depending on window count and climate. Savings vary by region and starting efficiency level.
Avoid These Mistakes for Window Replacement Success
Window replacement is too significant an investment to make preventable mistakes. By understanding these common errors—from inadequate planning to poor installation practices—you can avoid costly problems and ensure your new windows deliver years of comfort, efficiency, and beauty.
The most important steps are getting multiple quotes, hiring qualified professional installers, and carefully verifying the final installation. These foundational decisions ensure your window investment protects your home while enhancing its appearance and efficiency for decades to come.
Ready to begin your window replacement project? Connect with our team for a free consultation where we'll address your specific needs and help you avoid these common mistakes. Our professional installation and comprehensive warranties ensure your project succeeds from start to finish.