
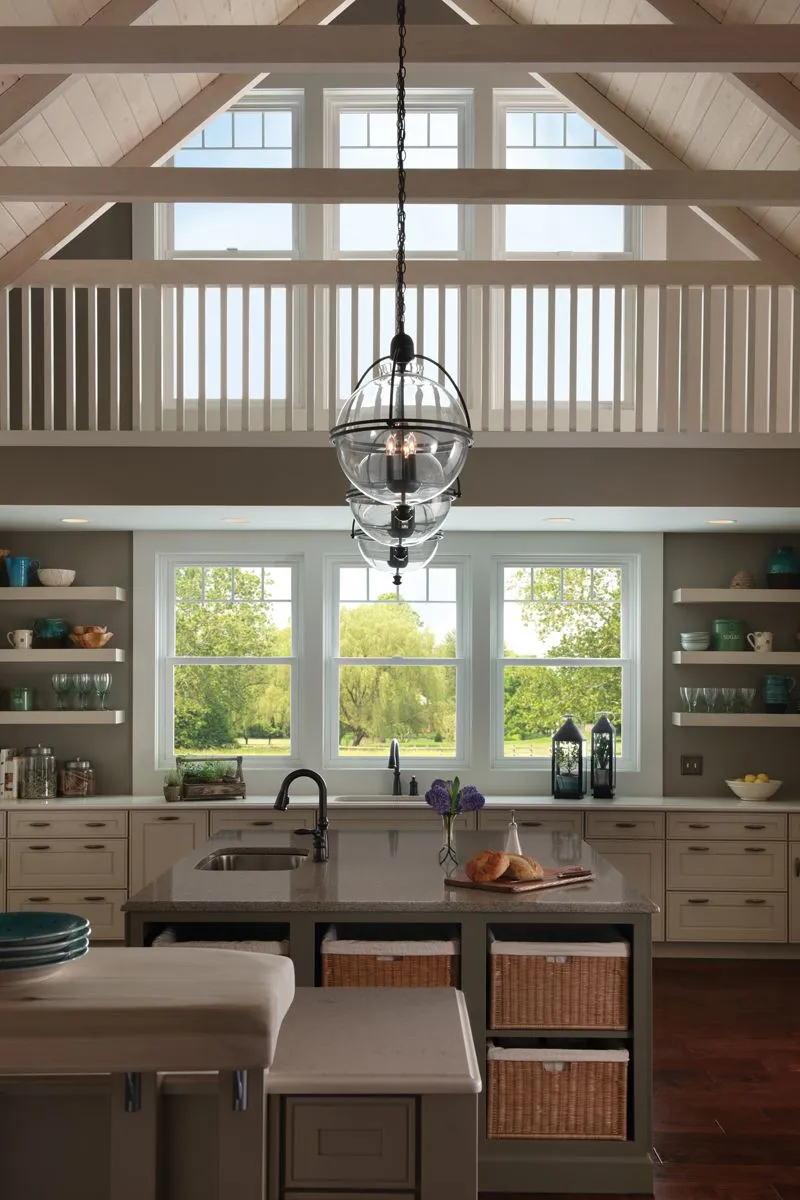
Can I Replace Just a Few Windows in My House? Partial Window Replacement Explained
Yes, you can replace just a few windows in your Utah home. Here is when partial replacement makes sense, what to watch for, and how to plan it well.

Alan Horne
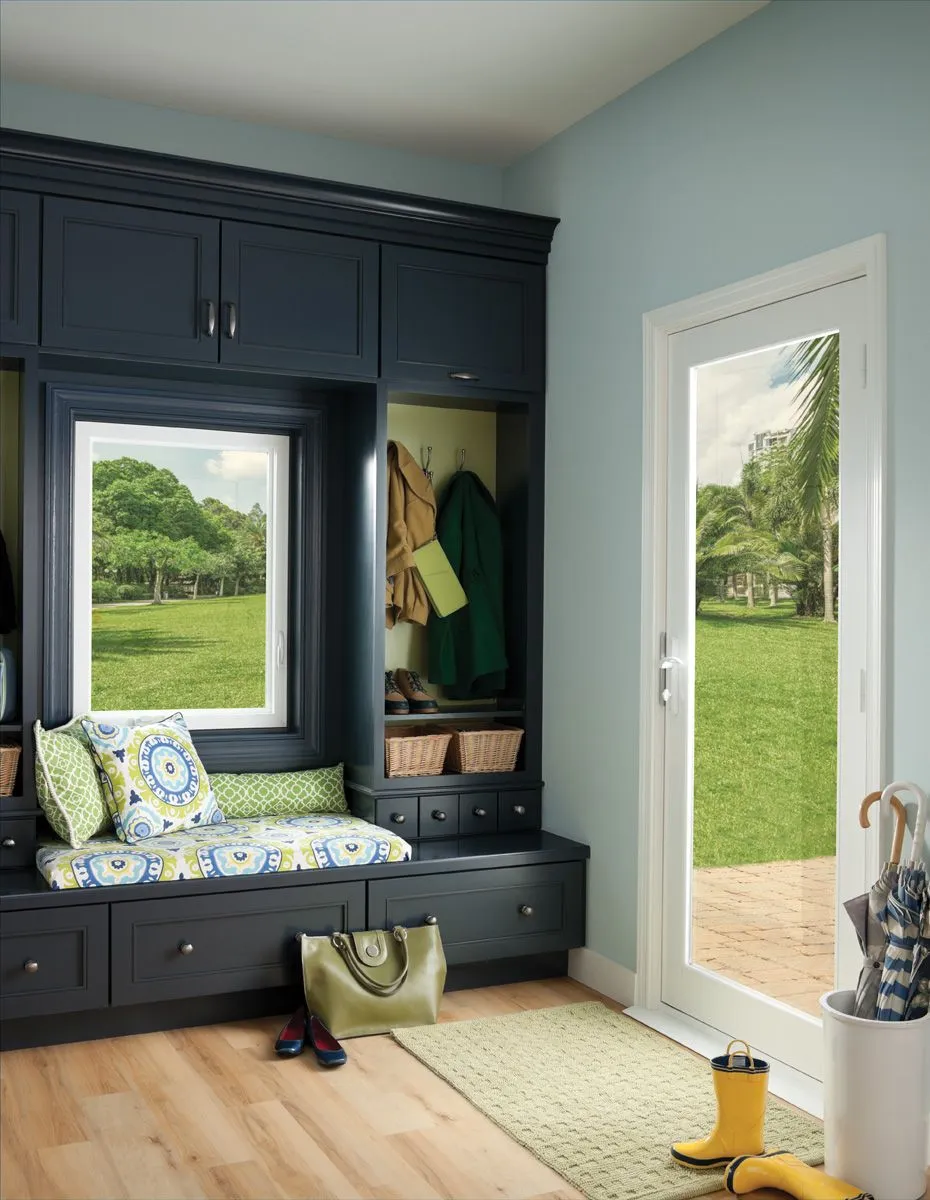
Accurate window measurements are essential for a successful replacement project. Taking the wrong measurements leads to windows that don't fit properly, installation delays, and potential damage to your home's frame and siding. Whether you're getting quotes from contractors or installing windows yourself, learning to measure correctly ensures your project runs smoothly and your new windows fit perfectly.
Improper measurements are one of the most common causes of window replacement problems. Consequences of measurement errors include:
Taking accurate measurements takes just 15-20 minutes per window but prevents significant problems later.
Before measuring, gather these simple tools:
You don't need expensive or specialized equipment—basic tools are sufficient for accurate measurements.
Before measuring, prepare your window:
Determine which measurement approach applies to your situation:
For windows in good condition that will be removed and replaced: You'll measure the opening size (also called the "rough opening")
For damaged frames that will remain in place: You'll measure for the window unit to fit within the existing frame
For new construction openings: You'll measure the wall opening dimensions
Most homeowners need replacement measurements for existing openings.
Window width is typically measured at three points to check for irregular openings (important because not all openings are perfect rectangles).
Top width measurement:
Middle width measurement:
Bottom width measurement:
Use the smallest measurement: Order your window based on the smallest width measurement to ensure it will fit through the opening.
Similar to width, measure height at three points (left, center, right):
Left height measurement:
Center height measurement:
Right height measurement:
Use the smallest measurement: Order based on the smallest height to ensure proper fit.
Knowing the correct terminology helps you communicate with contractors and manufacturers:
Rough Opening (RO): The wall opening where the window unit will be installed. This is typically 1/4" to 1/2" larger than the window unit itself to accommodate shimming and sealing.
Window Unit Size: The actual dimensions of the replacement window itself (usually 1/4" to 1/2" smaller than the rough opening).
Sash Opening: The opening of just the movable sash parts (for double-hung windows), not including the frame.
Light Dimensions: The size of individual glass panes. This is different from overall window size.
Different window styles require slightly different approaches:
Measure the same way as double-hung windows. Single-hung only has one operable sash, but frame dimensions are identical.
These are complex and often require professional measurement:
Use a level to check if your window frame is truly vertical (plumb) and horizontal (level):
Most residential windows aren't perfectly level or plumb, and manufacturers account for this. However, significant deviations (more than 1/4" in a 36" span) should be noted and discussed with your installer.
Sometimes the interior and exterior frame dimensions differ (this can happen with thick walls or insulation). Measure both:
When measuring windows with existing trim or siding:
Mistake #1: Measuring only once Never rely on a single measurement. Measure at least three points for both width and height to catch irregularities.
Mistake #2: Using the diagonal measurement The diagonal distance from corner to corner doesn't provide usable dimensions for window ordering.
Mistake #3: Measuring the glass pane instead of the frame Always measure the overall frame opening, not just the visible glass area.
Mistake #4: Assuming corners are square Many residential frames are slightly out of square. Multiple measurements reveal this.
Mistake #5: Forgetting to account for trim Trim affects how new windows will fit. Always consider existing and planned trim.
Mistake #6: Measuring while the window is closed Always open windows fully for accurate frame dimension measurement.
Mistake #7: Rounding measurements Record exact measurements, including fractions. A measurement 1/8" off can cause problems.
Mistake #8: Not noting obstruction clearance Measure how far windows open and check for obstructions (trees, structures, etc.).
While many homeowners can measure their windows, certain situations warrant professional measurement:
You should hire a professional if:
Professional window contractors can identify issues that informal measurements might miss and ensure proper sizing for special circumstances.
Create a measurement record for your windows:
For Each Window, Document:
Use this template:
Window #: ___
Location: ___
Type: ___
Width - Top: ___  Center: ___  Bottom: ___
Height - Left: ___  Center: ___  Right: ___
Plumb/Level: ___
Trim: ___
Notes: ___
When contacting window contractors, provide:
Providing complete measurement information helps contractors give accurate quotes and ensures they properly prepare for installation.
Utah homeowners should consider regional factors when measuring windows:
Climate considerations:
Local installation practices:
For Utah homeowners, professional installation is especially important. Check our service areas to find local contractors in your region, including Salt Lake City, Provo, Ogden, and other Utah locations.
Before placing your window order:
Getting a second confirmation of measurements prevents costly errors.
How often should I take measurements if I'm getting multiple quotes? Take measurements once and share them with multiple contractors. This saves time and ensures consistent comparison between quotes.
Can I measure windows that are partially blocked by furniture? Yes, but it's more difficult. Move furniture out of the way and open windows fully before measuring.
What if my window openings are irregular? Record the smallest width and height measurements. This ensures the replacement window will fit in the opening.
Do I need to measure the sash opening for double-hung windows? Not typically. Measure the overall frame opening, not just the operable sash area.
How accurate do measurements need to be? Measurements should be accurate to 1/8". This is typically achievable with a basic tape measure and careful technique.
Can I measure windows myself or should I always hire a professional? Many homeowners successfully measure standard windows. Hire professionals for specialty windows or if you're uncertain.
What should I do if my measurements vary significantly at different points? This indicates an out-of-square opening. Note all measurements and discuss with your contractor—they may recommend solutions.
How do I account for new trim when measuring? Discuss trim plans with your contractor. They can advise on how to order windows accounting for planned trim changes.
Accurate measurements are the foundation of a successful window replacement project. Whether you measure yourself or hire a professional, proper dimensions ensure your new windows fit perfectly and perform optimally.
Ready to replace your windows? Utah homeowners throughout the state can benefit from professional measurement and installation services. Check our service areas to find installation services in your community. We serve locations from St. George to Ogden, and throughout the Wasatch Front and beyond.
Start with accurate measurements, and you're already on the path to a successful window replacement project!

Utah Window Experts
520 Commerce Rd
Orem, UT 84058
Copyright 2026. Utah Window Experts. All Rights Reserved.