When replacing windows, accurate measurements are crucial to ensure a proper fit. Incorrect measurements can lead to drafts, increased energy costs, and a poor fit. This guide will help you measure your windows with ease, so you can avoid these issues and make your replacement project a success.
Table of Contents
What Are the Parts of a Window Frame?
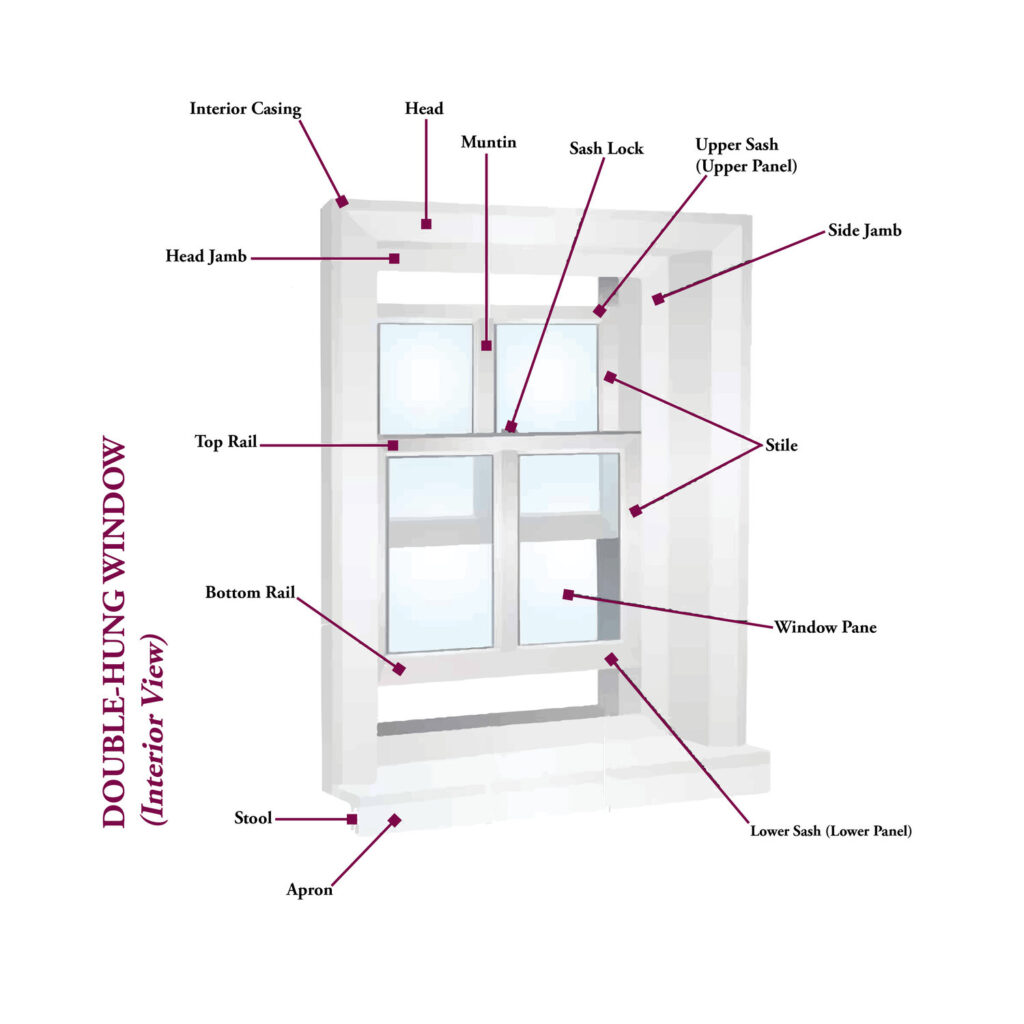
Before you start measuring, it’s essential to understand the parts of a window frame. The window frame is the structure that supports the glass and holds the window in place. It consists of four main parts:
- Head Jamb: The top horizontal part of the frame.
- Side Jambs: The vertical sides of the window frame.
- Sill: The bottom part of the frame where the sash rests.
- Sash: The movable part of the window that holds the glass.
Knowing these parts helps ensure that you measure correctly and understand what needs to be replaced.
1. Check Windows for Square, Plumb, and Level
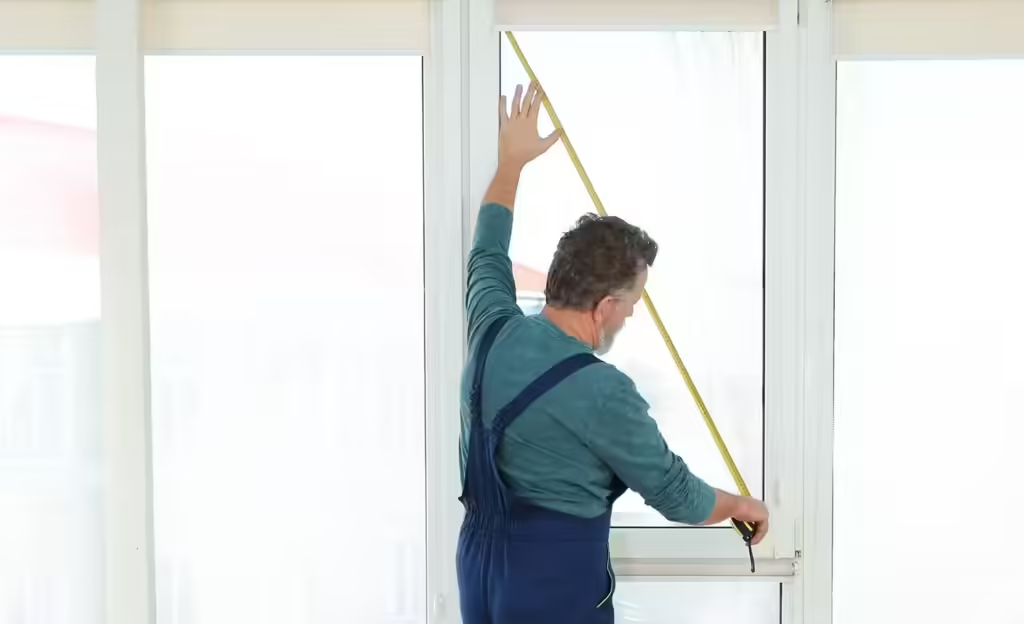
The first step in measuring your window is checking if it’s square, plumb, and level. This step is essential because if the window frame is out of square, the new window may not fit properly.
To check if the window is square, measure diagonally from one corner to the opposite corner on both sides. If both measurements are the same, your window is square. If the measurements differ, you may need to adjust your plans or use shims during installation.
2. Measuring Window Width
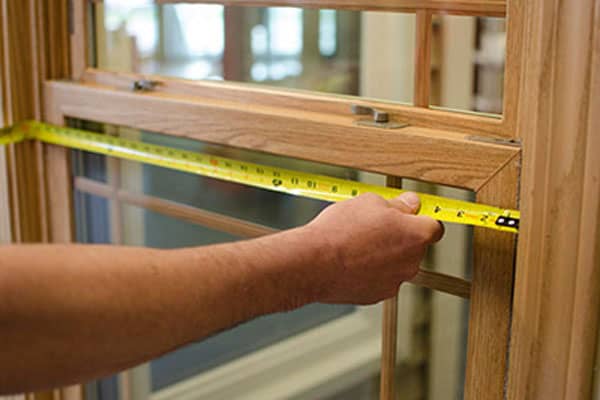
To measure the width of the window, you’ll need to take three measurements: top, middle, and bottom. First, measure from jamb to jamb at the top of the window frame, then do the same in the middle and at the bottom. Record all three measurements, then use the smallest one. This ensures your replacement window will fit the narrowest part of the frame. Always measure inside the frame, not the trim or exterior casing.
3. Measuring Window Height
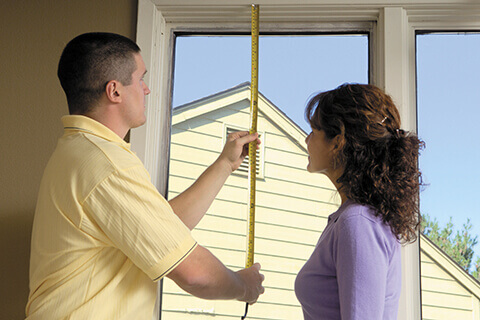
Next, measure the height of your window. Start by measuring from the sill to the top of the window frame on the left side, then do the same in the middle and on the right side. Record each measurement and, again, use the smallest one. Taking three measurements helps ensure accuracy, especially if the window frame has shifted over time.
4. Measure Window Depth
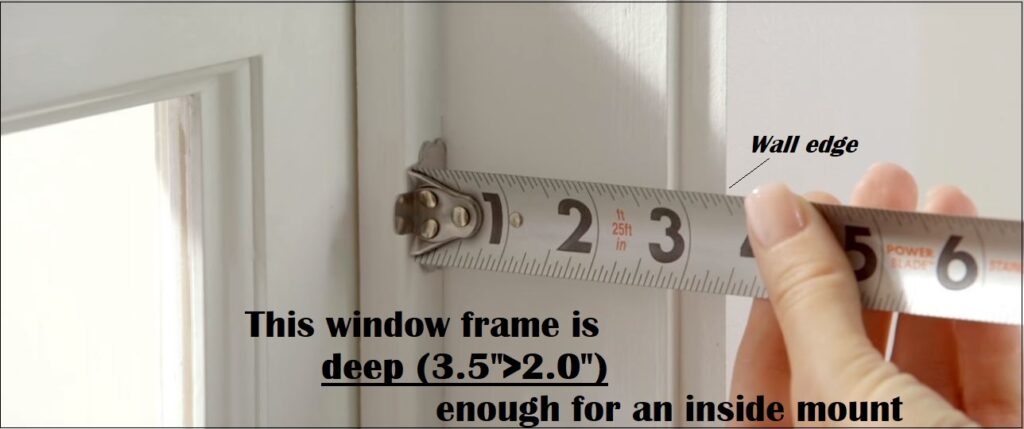
Measuring the depth of your window is crucial, especially for replacement windows that need to fit snugly within the existing frame. To measure the depth, place your tape measure from the inside edge of the window frame to the outer edge. Repeat this process in several spots, as frames can vary in thickness. If you encounter obstacles like trim or stops, measure around them, as they won’t be part of the final window depth. Standard window depths are usually between 3 ¼ to 5 ¼ inches, so ensure your measurement falls within this range.
5. Measuring Tips for Each Window Type
When measuring for replacement windows, different types of windows may have unique characteristics that affect how you measure them. Here’s how to measure various window types to ensure a perfect fit.
Measuring for Double-Hung Windows
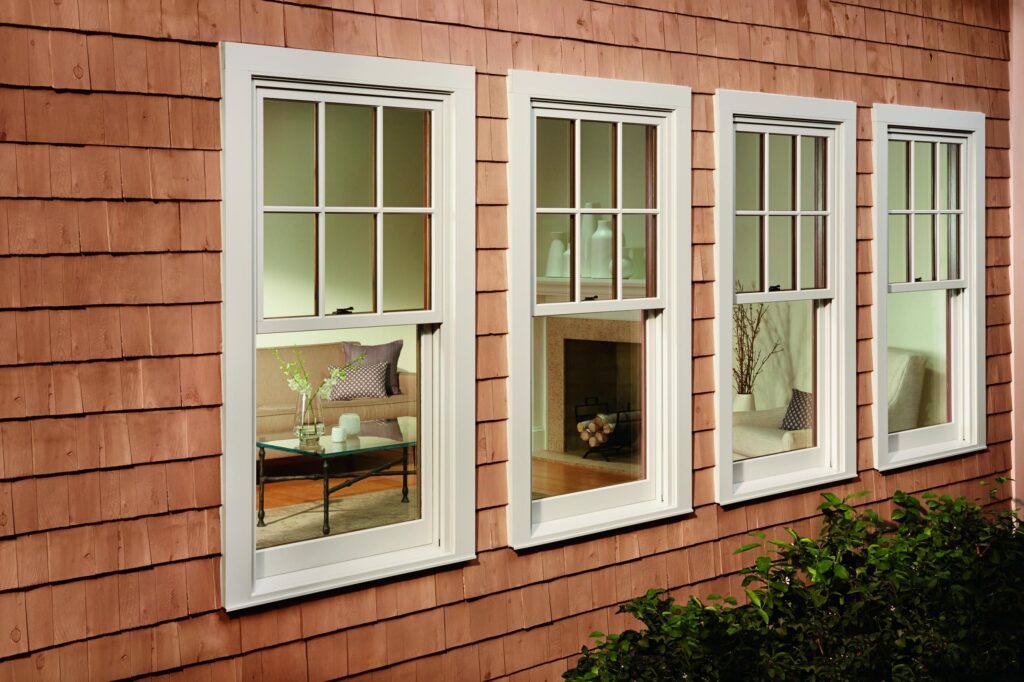
Double-hung windows have two sashes, both of which can move up and down. To measure for replacement double-hung windows, start by measuring the width from jamb to jamb at three points: the top, middle, and bottom. Use the smallest of the three measurements. Next, measure the height from the sill to the head jamb at the left, middle, and right sides, taking the smallest measurement. Keep in mind that double-hung windows often have a meeting rail where the two sashes overlap, so ensure this area is included in your measurements.
Measuring for Single-Hung Windows
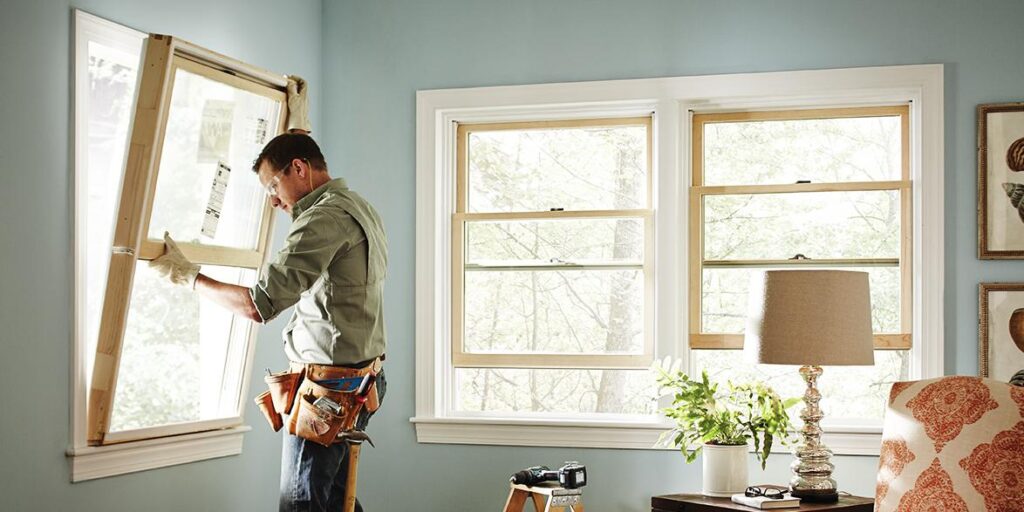
Single-hung windows are similar to double-hung windows, but only the bottom sash moves. When measuring for a replacement, follow the same steps as for double-hung windows. Measure the width at the top, middle, and bottom, and measure the height from the sill to the head jamb at three points. Use the smallest measurements. Even though only the bottom sash operates, the overall window frame still needs to be measured for proper fit. Be sure to check for any tilt mechanisms or hardware that might affect the installation.
Measuring for Sliding Windows
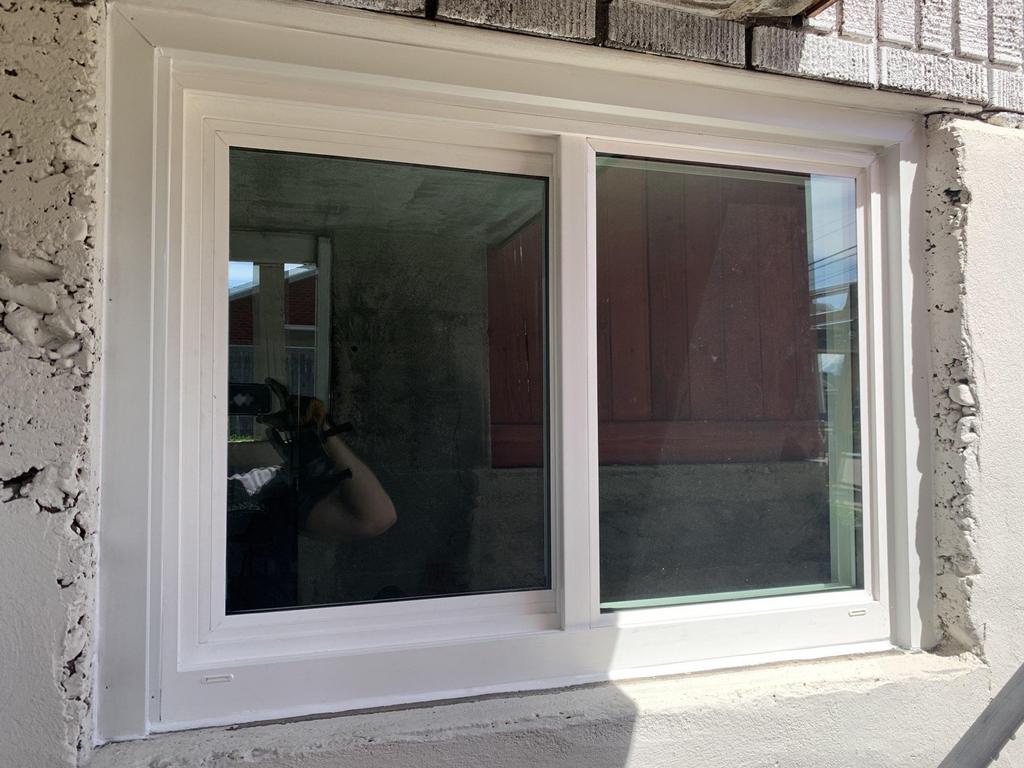
Sliding windows, also known as gliding windows, have one or more sashes that slide horizontally along a track. To measure sliding windows, start by measuring the width from side jamb to side jamb at the top, middle, and bottom of the frame. Use the smallest of these three measurements. For the height, measure from the sill to the top of the window opening at the left, middle, and right. Again, use the smallest measurement. Pay special attention to the sliding rail mechanism, as it can sometimes affect the measurement. Be sure that the new window will fit into the existing track or that the old track will be removed during installation.
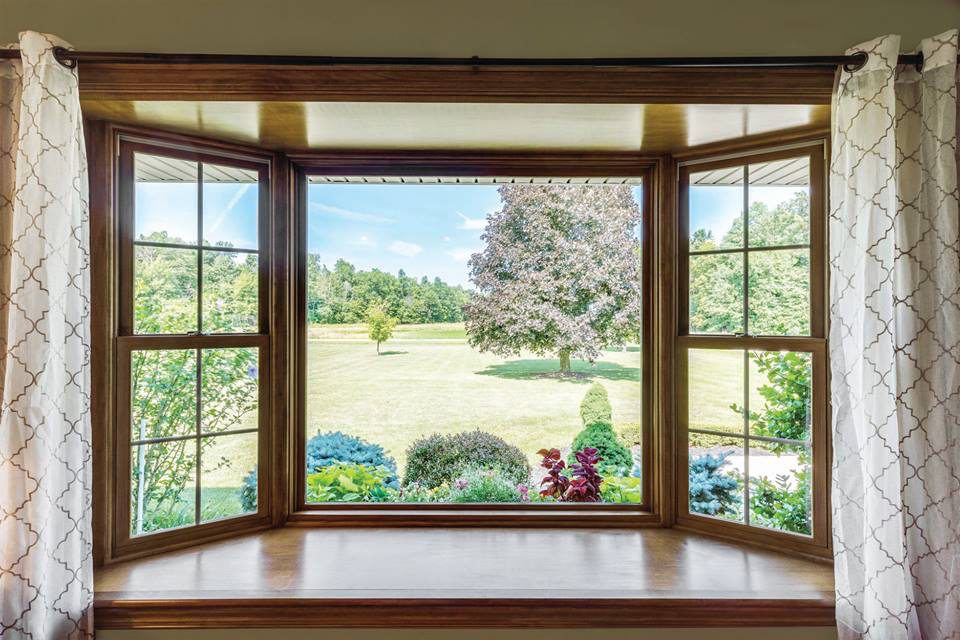
Measuring for Bay or Bow Windows
Bay and bow windows are more complex due to their multi-panel construction and unique angles. To measure a bay or bow window, you’ll need to take individual measurements for each section. Start by measuring the width and height of each individual window panel using the methods described for single and double-hung windows. Additionally, you’ll need to measure the angles at which the windows are connected. For bay windows, typically made of three panels, measure the angles between the side windows and the center window. Bow windows usually have four or more panels and create a rounded appearance, so ensure you account for the curvature when taking measurements. Accurate measurements of the angles and depth are crucial for ensuring the replacement window fits properly.
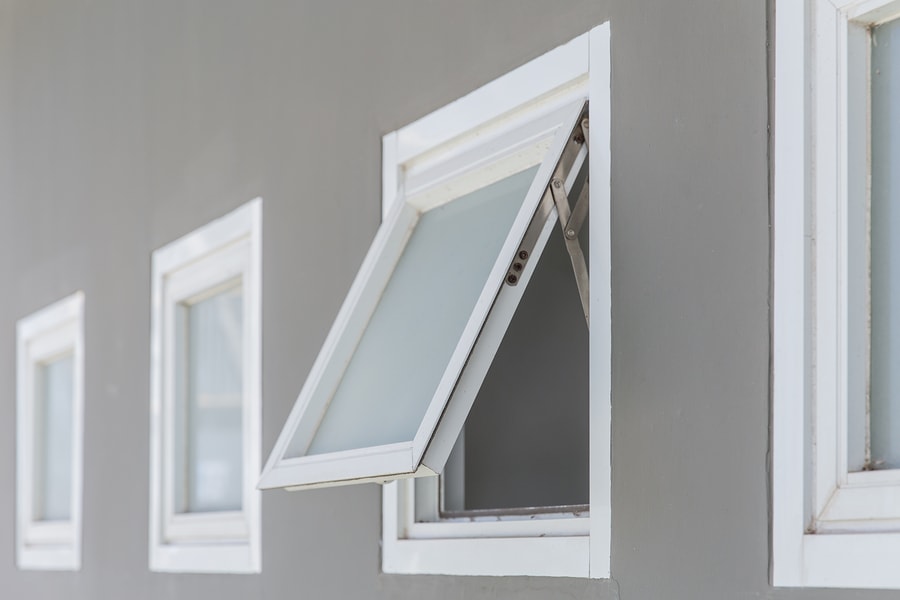
Measuring for Awning Windows
Awning windows are hinged at the top and open outward from the bottom. To measure an awning window, measure the width from side jamb to side jamb at the top, middle, and bottom of the frame. Use the smallest of these measurements. For the height, measure from the sill to the head jamb at three points: left, middle, and right. Again, use the smallest measurement. Because awning windows open outward, it’s important to measure the depth as well, ensuring there is enough clearance for the window to open fully. Measure from the inside of the frame to the exterior wall and take note of any obstructions that could prevent the window from operating smoothly.
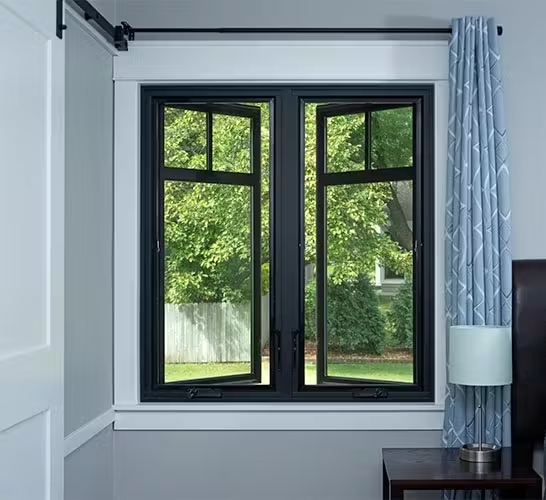
Measuring for Casement Windows
Casement windows are hinged on the side and open outward like a door. When measuring for casement windows, start by measuring the width of the window frame from side jamb to side jamb at the top, middle, and bottom. Use the smallest measurement. Next, measure the height from the sill to the head jamb at the left, middle, and right, again taking the smallest measurement. Additionally, because casement windows swing outward, make sure to measure the depth and account for any exterior obstructions, such as overhangs or trim, that might prevent the window from opening fully.
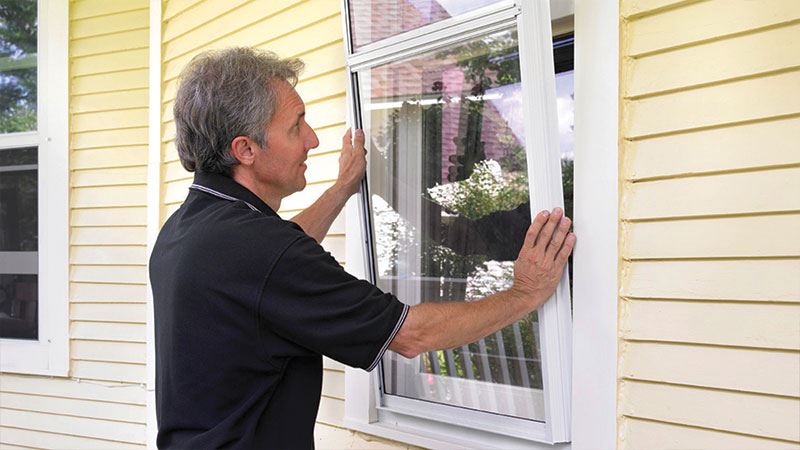
Measuring for Storm Windows
Storm windows are installed on the exterior of your existing windows to provide additional insulation and protection against weather. When measuring for storm windows, start by measuring the width of the window opening from side jamb to side jamb. Take three measurements: one at the top, one at the middle, and one at the bottom. Use the smallest measurement. Then, measure the height of the window opening from the sill to the top of the frame, again taking three measurements at the left, middle, and right sides. Use the smallest height measurement to ensure a snug fit. Be sure to measure the depth as well, since storm windows need to fit within the outer frame of the existing window. If there are any obstructions like brick molding or trim, account for them in your measurements to make sure the storm window will sit flush against the exterior.
Understanding Exterior Wall Conditions
Your home’s exterior wall material can influence how you measure for replacement windows. The type of siding or wall condition may require additional considerations when installing new windows.
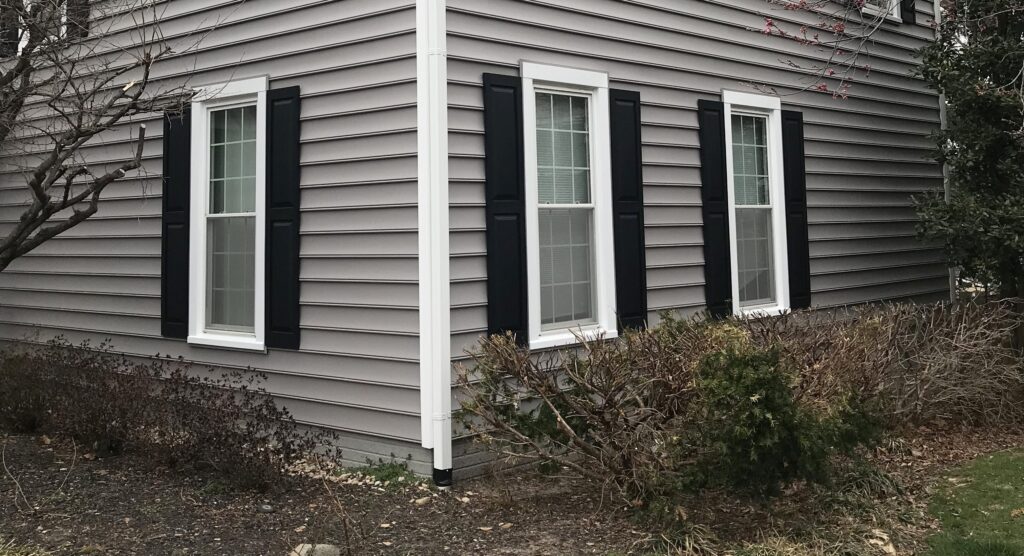
Siding
If your home has siding, such as vinyl or wood, you’ll need to measure from the edge of the siding that covers the window frame. Be sure to measure accurately to the outermost part of the window opening, as some siding materials can slightly overlap the window frame. When removing the existing window, some of the siding might need to be temporarily taken down, so factor this into your plans for both measuring and installation.
Stucco
Stucco exteriors can present unique challenges due to their rough texture and the way stucco is applied. When measuring for replacement windows in a stucco wall, measure from the edge of the stucco to the window frame. Stucco may have to be cut back to install a new window, which can require additional time and care to avoid cracking the material. Ensure the window is measured to fit snugly within the stucco cutout, and be prepared for some patching and refinishing after installation.

Brick
For brick exteriors, measure from the inside edge of the brick to the window frame. Since brick is less flexible than other materials, accurate measurements are essential to avoid gaps or improper fits. The new window needs to fit precisely within the brick opening, and adjustments to the brick should be avoided if possible. Additionally, make sure to consider the depth of the window frame as brick walls are often thicker than other types of exterior walls. This could affect how the new window is installed and seated within the opening.

Full Frame vs. Jump Frame Window Replacement
When replacing windows, it’s important to know whether you’re doing a full frame or jump frame replacement. The type of replacement will determine how you measure and the level of work involved.
- Full Frame Replacement: This involves removing the entire window, including the frame, sash, and trim. You’ll need to measure the rough opening for a full frame replacement, which is the space within the wall where the window is installed. To measure for a full frame replacement, take the width and height measurements of the rough opening after the existing window has been completely removed. Make sure to account for any gaps in insulation and trim that might affect the new window’s fit.
- Jump Frame Replacement: This type of replacement is less invasive and involves installing the new window within the existing frame, which remains in place. Jump frame replacements are quicker and easier because you don’t need to remove the entire window structure. When measuring for a jump frame replacement, you’ll measure the interior of the current window frame from jamb to jamb, following the steps for width, height, and depth outlined earlier in the guide. Since the frame is staying in place, precise measurements are essential to ensure the new window fits snugly inside the existing structure.
For more detailed guidance on whether you can replace just the window or need a full frame, check out this article.
Expert Tips
Whether you’re measuring for a full frame or jump frame window replacement, a few expert tips can help ensure a smooth process:
- Use a steel tape measure: A steel tape measure will provide more accurate measurements than a fabric or plastic tape measure, which can stretch or warp over time.
- Measure twice, cut once: As the saying goes, double-checking your measurements can save you from costly mistakes. Always measure twice to confirm accuracy before ordering new windows.
- Account for irregularities: Homes settle over time, and window frames can shift or become uneven. When taking measurements, look for signs of shifting or warping, and adjust your plans accordingly. If the frame is not square, you might need to add shims during installation to ensure the new window is level and plumb.
- Measure the depth carefully: Make sure to measure the depth of the window opening, as this will affect the installation and whether the window will fit properly with the exterior finish of your home. For more information on how much new windows might cost, check out this guide to replacement window costs in 2024.
- Don’t forget the trim: If you plan to replace or update the trim around your windows, factor in the size and placement of the trim in your measurements. The trim can affect the overall fit and appearance of the window.
- Consider financing options: If you’re worried about the cost of replacing multiple windows at once, learn more about window replacement financing here.
DIY vs. Professional Measuring
When deciding whether to measure windows yourself or hire a professional, there are a few key factors to consider.
- DIY Measuring: Measuring your own windows can save you money, and it’s entirely possible to do it correctly with patience and precision. If you feel comfortable using a tape measure and following the guidelines in this article, DIY might be a good option for you. However, mistakes can be costly. Incorrect measurements could result in windows that don’t fit, leading to delays, additional expenses, and frustration. If you decide to go the DIY route, double-check your measurements and consider having a professional verify them before placing your order.
- Professional Measuring: Hiring a professional to measure your windows ensures accuracy and can give you peace of mind. A professional will account for factors that you may overlook, such as settling walls, uneven frames, and exterior conditions. Professionals can also help you select the right type of window for your home’s specific needs. While this option costs more upfront, it reduces the risk of mistakes and provides expert insight into your project. If you’re not confident in your measuring abilities or have a more complex window setup (like bay or bow windows), opting for professional measuring is often the best choice.
For an in-depth explanation of vinyl replacement windows, visit Vinyl Replacement Windows.
What is the Difference Between a Replacement Window and a New Construction Window?
Understanding the difference between replacement windows and new construction windows is key when planning your window project.
- Replacement Windows: These windows are designed to fit into the existing window frame without removing the surrounding materials like siding or brick. They are ideal when you want to upgrade or replace old windows without doing significant construction work. Replacement windows are custom-sized to fit your current window openings, making the installation quicker and less invasive. They’re often used in retrofit projects where the window frame is in good condition, but the glass or sashes need replacing.
- New Construction Windows: These are typically used in new homes or major renovation projects. New construction windows are installed into a rough opening, meaning the entire window assembly—including the frame, sash, and glass—is new. These windows come with a nailing fin or flange that attaches to the exterior of the house, providing a secure seal against the elements. This option is more common in situations where the window frames are damaged, or you’re changing the size or shape of the window. New construction windows generally offer more flexibility in terms of design but involve more labor.
Choosing between these two options depends on your home’s current condition and whether you want to keep your existing frames or start from scratch. Check out this external guide on choosing between replacement and new construction windows for additional tips.
Can You Just Replace the Windows and Not the Frame?
Yes, in many cases, you can replace just the windows without replacing the entire frame. This is called a jump frame or insert replacement. It’s a popular option because it allows you to upgrade the windows while leaving the original frame, trim, and siding intact. This type of replacement is less expensive and quicker to complete than a full frame replacement.
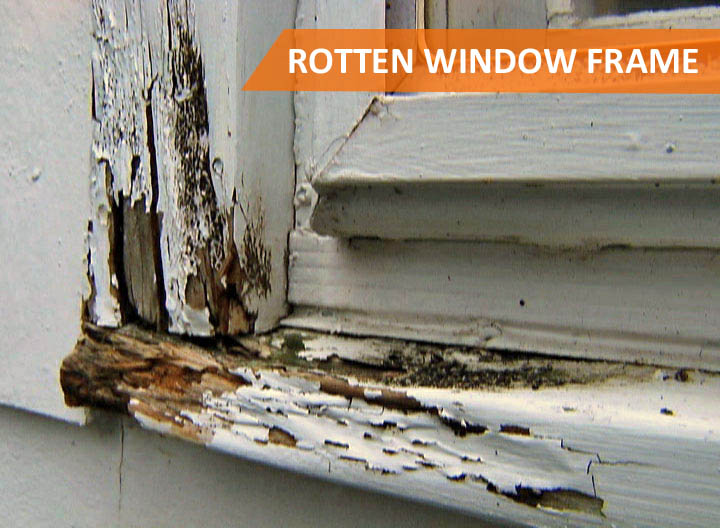
However, there are certain situations where replacing only the window isn’t possible. If the existing frame is damaged, rotted, or out of square, a full frame replacement will be necessary. Full frame replacement involves removing the old window, frame, and trim, and installing a new window unit into the rough opening.
When replacing just the window, it’s crucial to measure carefully to ensure the new window fits securely within the existing frame. You’ll also need to inspect the frame to make sure it’s structurally sound and free of any damage that could compromise the new window’s performance.
FAQ
How do you measure a window for replacement?
To measure a window for replacement, take three width measurements (top, middle, and bottom) and three height measurements (left, middle, and right). Use the smallest width and height measurements to ensure a proper fit. Don’t forget to measure the depth of the window opening to confirm that the new window will fit within the existing frame.
Do replacement windows need to be exact size?
Yes, replacement windows need to be measured accurately to ensure a proper fit. Too large, and the window won’t fit into the existing opening; too small, and you may end up with gaps that cause drafts or leaks. Always use the smallest measurements when measuring width and height.
Do you measure a window from inside or outside?
You typically measure a window for replacement from the inside of your home. Measure the interior frame dimensions, including width, height, and depth. For some exterior window components, like storm windows, additional exterior measurements might be necessary.
How do you measure rough opening for new windows?
To measure the rough opening for a new window, first, remove the existing window, including the frame. Then, measure the distance between the studs for width and the distance between the top and bottom framing members for height. This rough opening measurement is what you’ll use to order a new construction window.
